Tuesday, September 16, 2014

Urban Decay VICE 3 palette review and swatches!

Hi loves , so I just got my Urban Decay Vice 3 palette and I must say I love the fun packaging , very out of this world in a good way!
The size of the palette is pretty much the same size as the last Vice palette and you get 20 colors a mixture of mattes, shimmers and satin finish eye shadows. The palette retails for $60 which is not bad considering the price of the Naked palettes which do not carry as many colors.
So here is a look of the palette on the out side :

 
Pretty right?! Just love the design of it.
 
Now here is a look on the inside of the palette :
 
Here you can see all of the swatches:
 
I did do a full review video on my channel which includes swatches and my opinions on this palette you can see that here:
 
 
This palette was not sent to me by Urban Decay.
It was bought by me with my own funds.
I only give my honest opinions on any products I review.
 
Also don't forget to check out my last tutorial :
 

Monday, July 14, 2014

COLOUR POP VIVID EYESHADOWS AND SWATCHES

Hey there beauties! I am so excited to share these beautiful vivid eye shadows with you all. The brand is Colour Pop and they want you to have fun with colors and neutrals! I was contacted by them to try out their eye shadows so I picked out some really pretty bright colors and one dark color.
Here is how it arrived :
         So this box came in a box , yes in a bigger box! it was packaged so well it shows how much pride they have in their product. It was like precious cargo! Ok so now to the actual packaging before you get to the goods!
 

I love the colors they chose for this packaging/box ,very bright and vibrant. The packaging is also very sturdy it is not a cheap piece of card board it can be kept for a long time. I also love the personalized card that was inside of the box it just made it a lil' more sweet and personal.
 
Alright ,alright, alright time to finally see these beautiful shadows!
Here they are:
They are too cute! in this lil' box ^_^
 
Their names from top :
slave2pink , glowstix , rex
Bottom row:
mermaid kiss, fizz , sour
 
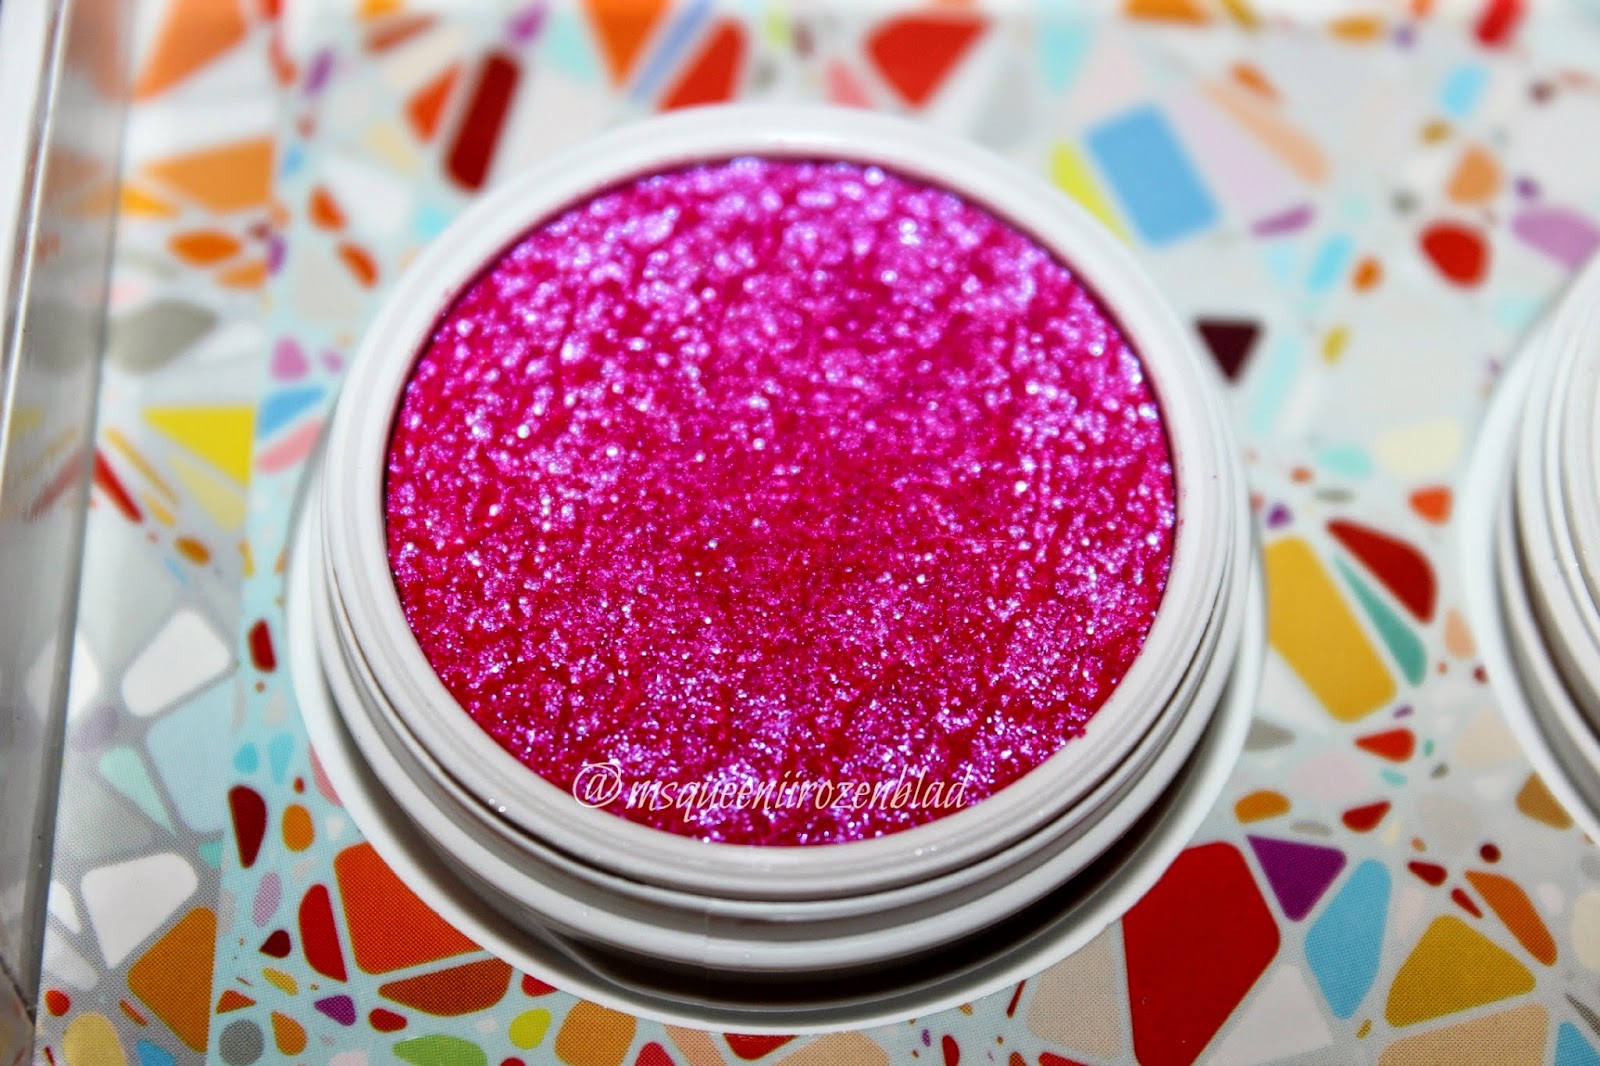
Here are some close ups for you all to see the glitter and textures by the way the textures of the shadows are very nice, soft feeling and not stiff.
"slave2pink"
 
"glowstix"
 
"rex"
 
"Mermaid Kiss"

"fizz"


"sour"
 
 Here are swatches of all the shadows with out any base/primer.
 
 
a look I did using "rex"
 
 
I am loving the textures of the shadows so soft and so bright and very pigmented , the shadows do not crease so adding primer will just be a added security to keep them in place.
I did notice that it takes a lil' work to get it completely off the eyes so use make up remover before washing you face.
I can not wait to show you all the look I created using these beauties on my YouTube channel!
 
For now loving the first 6 colors I got to try from Colour Pop very impressed with their presentation and the quality of their shadows.
Make sure to check them out on instagram !
Well that is all for now!
 
 
(products mentioned in this post were sent free of charge for review purposes ,I only give my honest and true opinion on any product I receive for review, this was not a paid review)


Thursday, July 3, 2014

Ruby Woo Red Glitter lips and video tutorial below!

      This was a requested lip tutorial by one of my amazing instagram followers, I created this beautiful glitter lip using MAC's Cherry lip liner and MAC's Ruby Roo lipstick .


The glitter I used is from rc-cosmetics.com and I used some lash grip to keep that glitter from going all over the place and some elf lock and seal to give it a extra layer of security.


Here is the tutorial to these gorgeous lips!
If you try out these lip let me know how it went! 
It's very safe it you do it correctly and use cosmetic grade glitter only!
 Have fun loves!

Tuesday, October 29, 2013

How to maintain healthy bleached hair!!! stop breakage,frizziness,dryness - Put life back into your hair!


I know how it may look , but this green baby food looking mixture is for my hair, I have not been treating my hair with love, and I decided to mix my favorite  power treatment!
Now in my blender I added half of a ripe avocado, 1/2 cup honey,1 egg,1/2 cup extra virgin olive oil, 1/4 cup Amla oil but if you don't have that you can use virgin coconut oil !
I also added 1/4 cup of coconut oil and a table spoon of mayo and 1/2 cup milk.
it should be thick, if not add some more avocado.

Now blend everything together and then place in fridge for about 30 minutes.

This recipe will make a lot of product you can freeze half of it if you have short hair.
you just need enough to coat all of your hair.


Now take this power paste and start applying it to the scalp of your hair parting your into sections then add a generous amount to the rest of the hair including your ends! they need love too <3
Cover your hair with a plastic cap and keep it on your head for 45minutes to an hour or as long as you want! I keep it on for 4 hours. If you want to use this mixture with heat (sitting under a dryer)only use the egg yolk of the egg.
But the natural heat from your scalp should be enough.


Once your time is up shampoo your hair, and add your conditioner let that sit for 2-5 minutes before rinsing . I roller set my hair and let it air dry then put on my bonnet to completely dry it for about 30 min. but you can style how you want!

If you use heat, use it 1-2 times a month and use heat protecting spray !
Heat is nice and all but using too much heat will damage your hair.

You may do this treatment every week if your hair is severely damaged!
 If not too damaged 2 times a month.

This power mixture will give your hair much needed moister add shine, prevent breakage, and also help straighten your hair naturally and help reduce frizz and fly a way's .

I hope this post was helpful!